Jump to
Before you start
Have your phone ready.
Install an authenticator app, such as Google Authenticator, Microsoft Authenticator, or 1Password.
Decide where you will keep your backup codes, such as a password manager.
Step 1
Open Account Settings
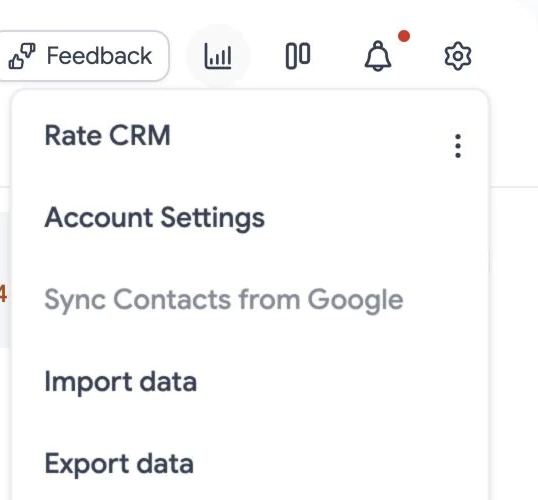
Select the settings icon at the top right of Tooling Studio and choose Account Settings. Then open Account.
Step 2
Start the setup
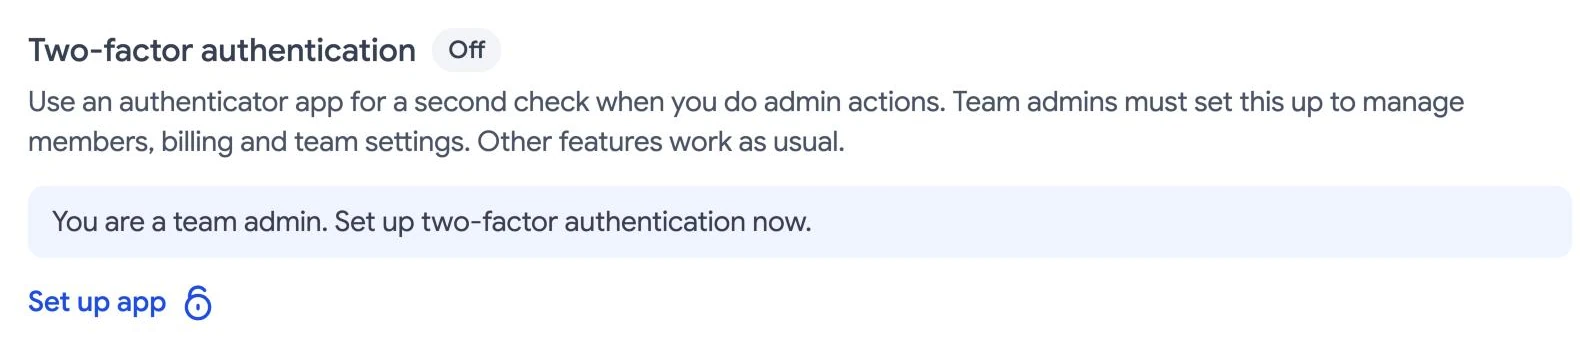
Find Two-factor authentication. It shows Off until you finish. Select Set up app.
Step 3
Scan the code with your app
Scan the QR code with your authenticator app. If you cannot scan it, select Can’t scan? Enter the key manually and add the key to the app as a time-based, 6-digit code. Then enter the 6-digit code the app shows.
The QR code and key are personal to your account. Never share them or post a screenshot of them.
Step 4
Save your backup codes
Save the backup codes somewhere safe. Each code works once, and you can use one if you cannot use your authenticator app. Two-factor authentication then shows On.
You can create a new set of backup codes later from the same section.
Step 5
Use it day to day
When you do an admin action, Tooling Studio asks for a code from your app. After that you will not be asked again on the same device for a while.
Lost your phone?
Use one of your backup codes. If you have lost those too, ask another admin of your team to reset two-factor for you. For more help, contact support .