Jump to
Before you start
Choose the team that will share the pipeline, or Personal Boards for your own deals.
List the stages your deals go through. You can rename, add, and remove stages later.
Decide roughly how long a deal should stay in each stage, and how likely it is to move on.
Step 1
Create a deal board
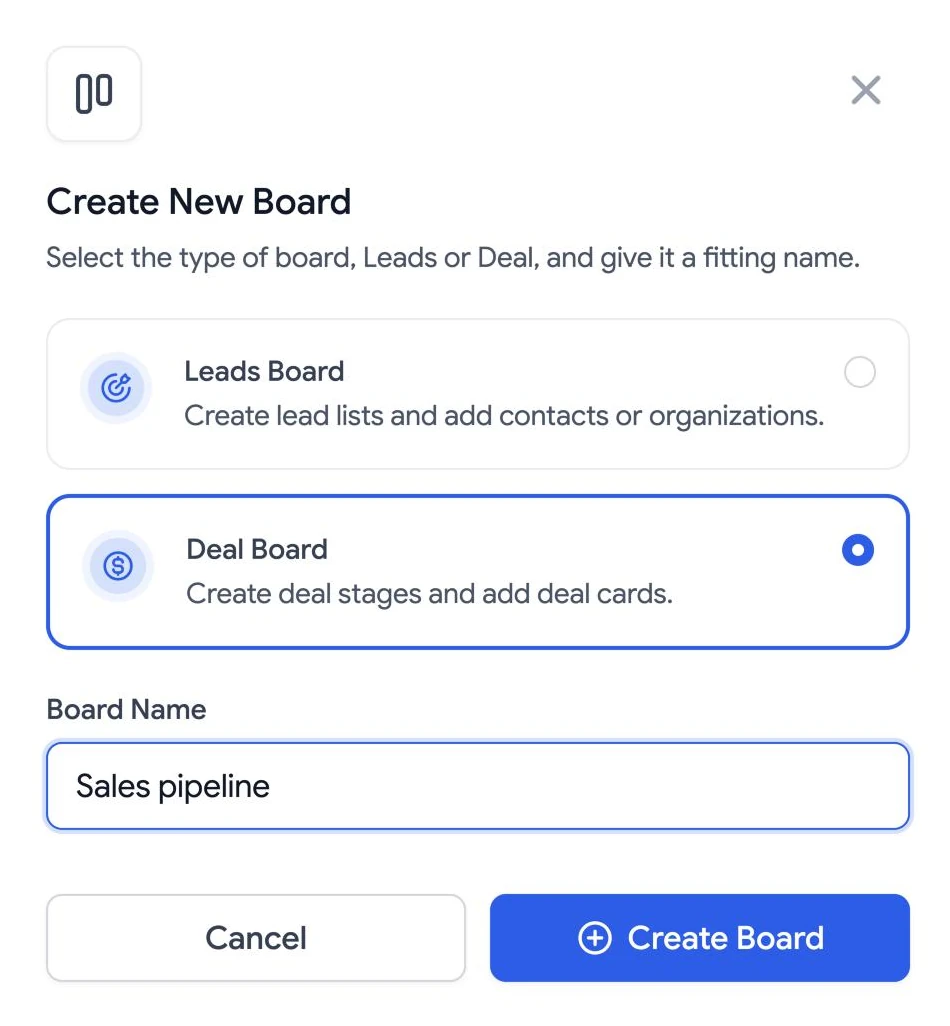
In Sales CRM, select the plus next to the team in the left sidebar. In Create New Board, choose Deal Board, give it a name such as Sales pipeline, and select Create Board.
The Share this Board window opens next so you can add teammates. Close it if you are not ready.
Step 2
Check the stages
A new deal board starts with Qualified, Discovery, Proposal sent, and Negotiation. Each stage shows its number of deals, their total value, its probability, and its day limits, such as 2/5/6+. Rename a stage from its menu (⋮), or select Add a Stage at the end of the board.

Step 3
Set timing and probability
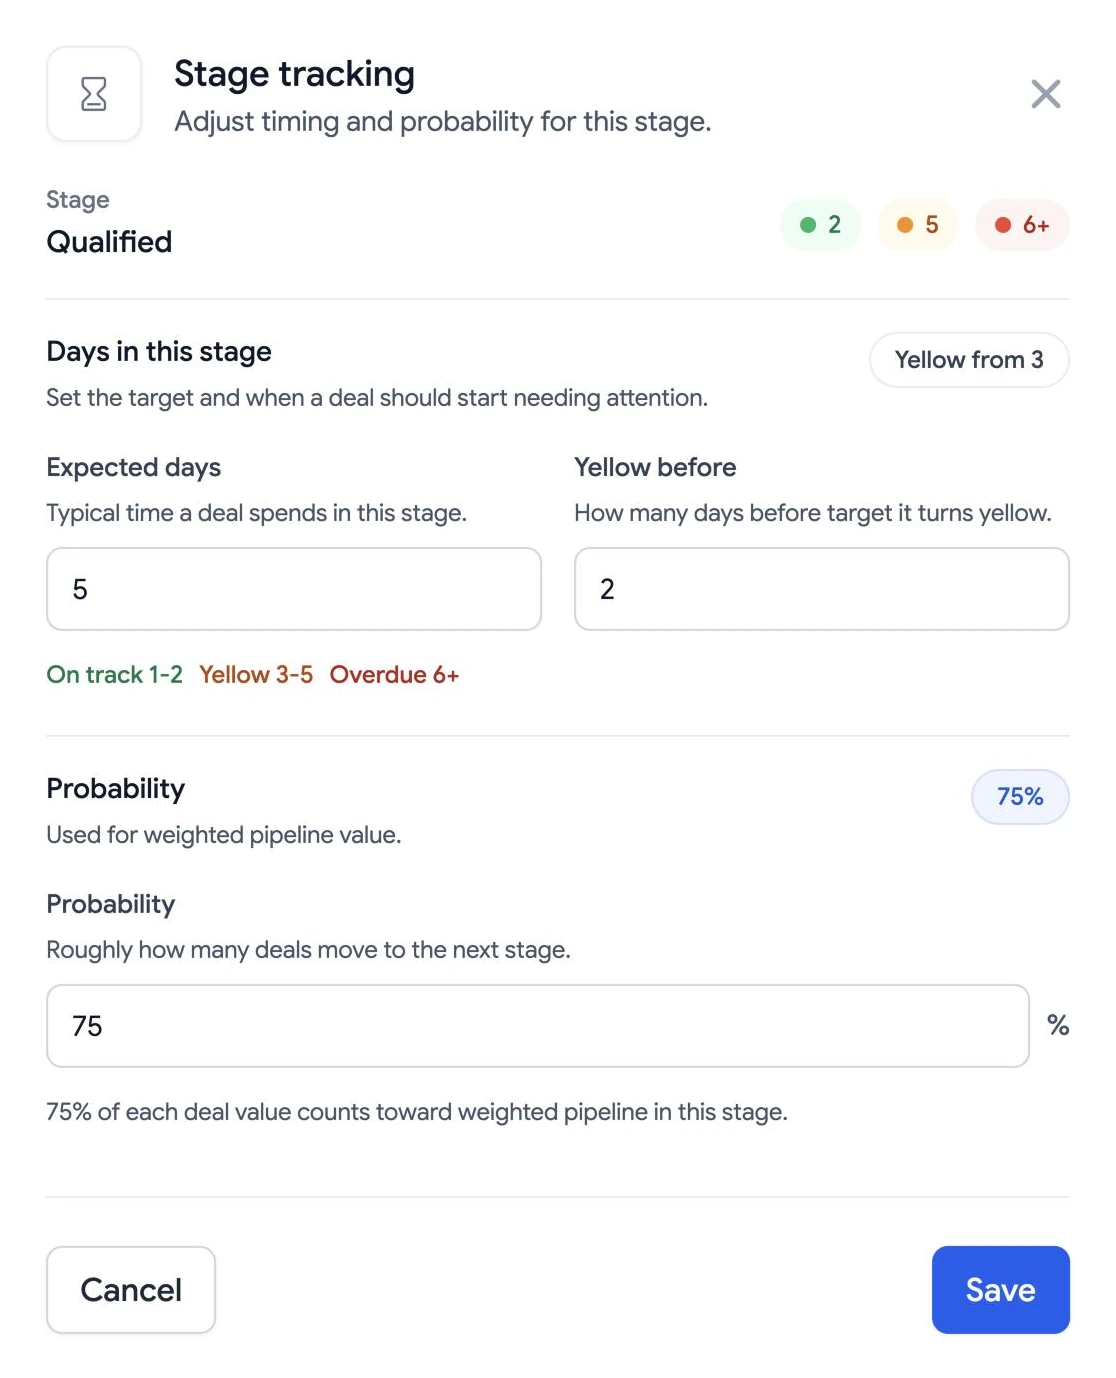
Open a stage’s menu (⋮) and choose Stage tracking. Expected days and Yellow before decide when a deal shows as on track, needs attention, or is overdue. Probability sets how much of each deal’s value counts toward the weighted pipeline value.
Step 4
Add a deal
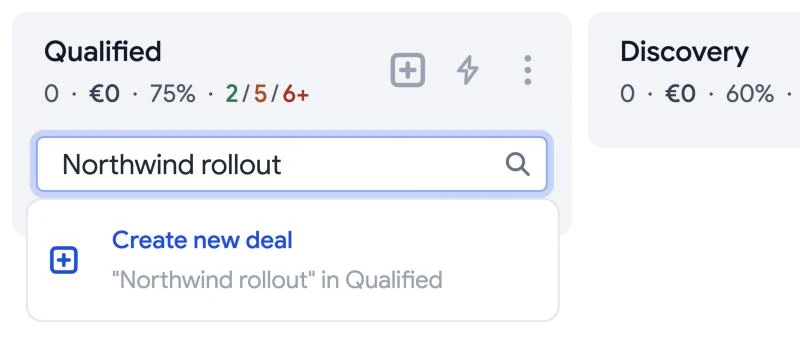
Select the plus at the top of a stage, type the deal name, and choose Create new deal. To move an existing deal here, pick it from the list instead.
Step 5
Fill in the deal
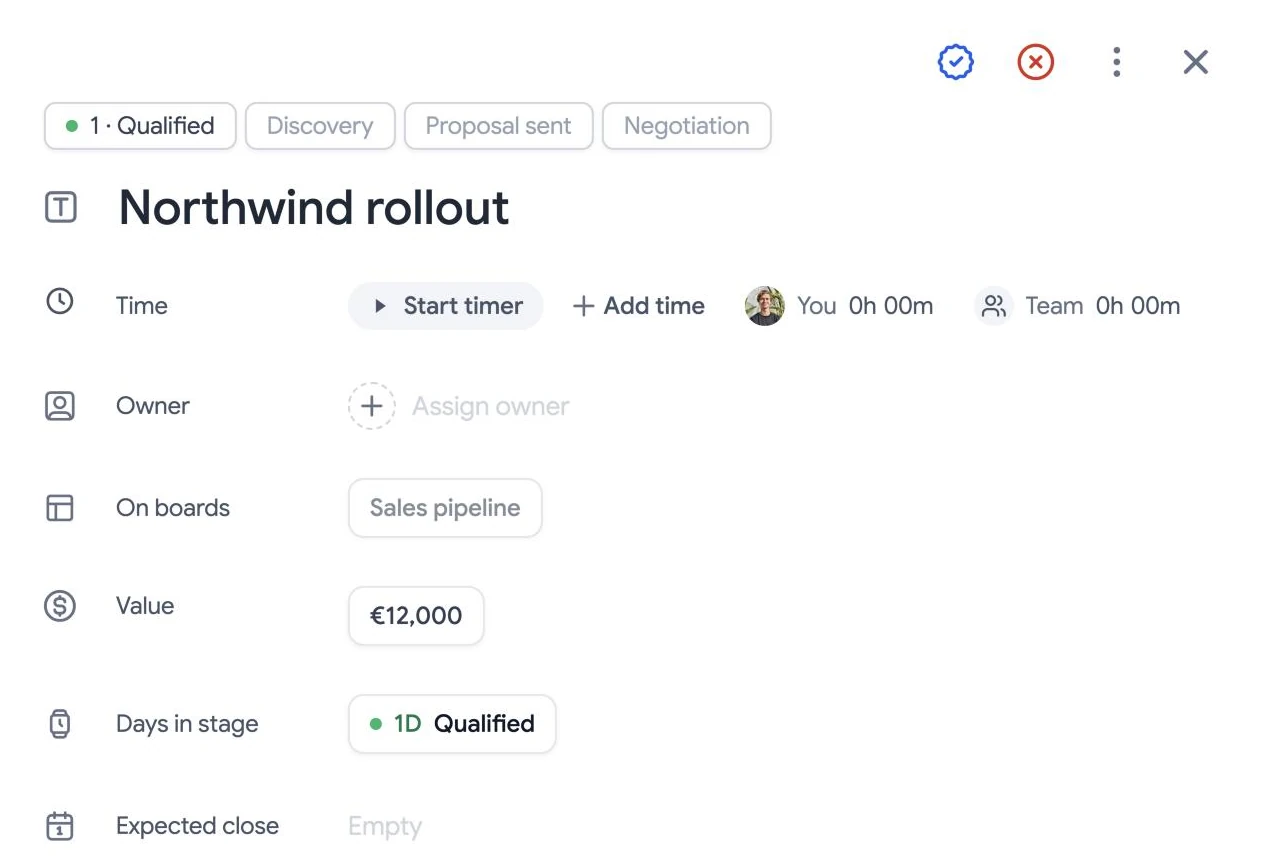
Open the deal to set its value, owner, expected close date, organization, and contacts. To move it to another stage, select a stage at the top of the deal.
Step 6
Mark it won or lost
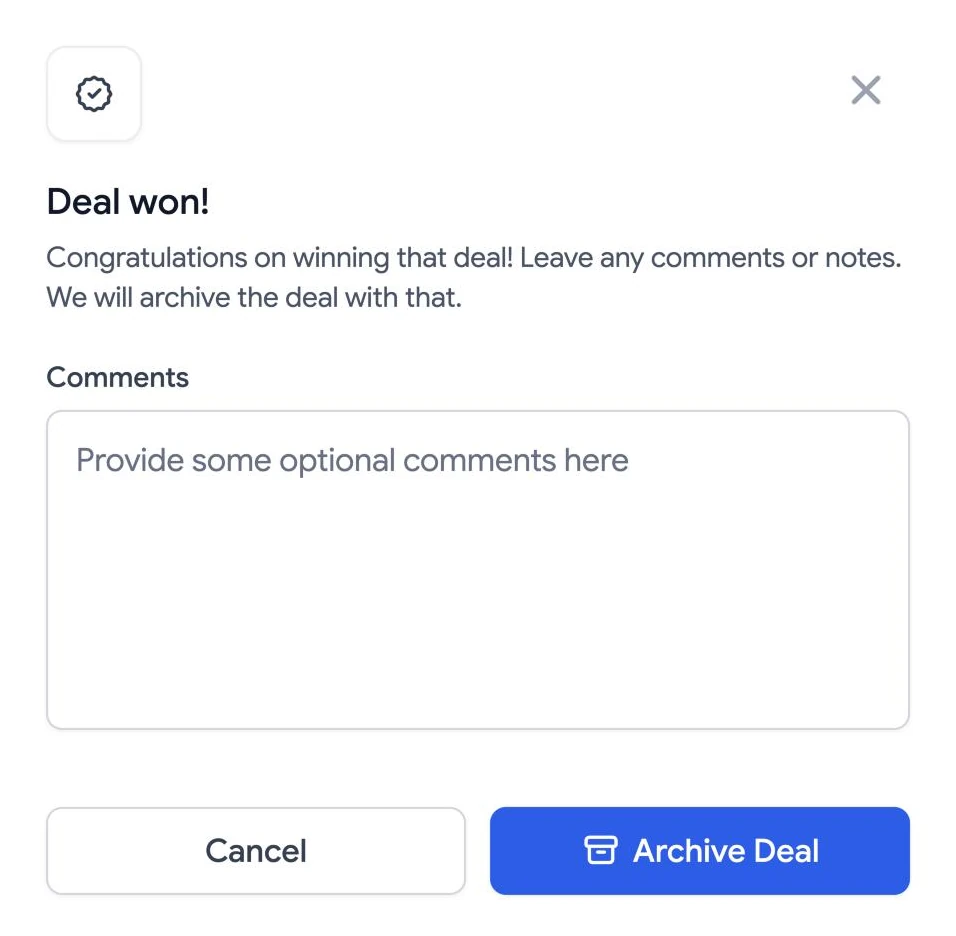
Select the check icon at the top of the deal to mark it won, or the cross icon to mark it lost. Add an optional comment and select Archive Deal. The deal is closed and leaves the board.
Need help with your pipeline?
Stages, timing, and probability can be changed at any time from each stage’s menu. For more help, contact support .