Jump to
Before you start
Choose where the board belongs and think of a short name for it. You can change the list names and order as your workflow changes.
Use Personal Boards for your own work, or choose a team for shared work.
Choose a clear board name, such as Website launch or Client onboarding.
Step 1
Open Kanban Tasks
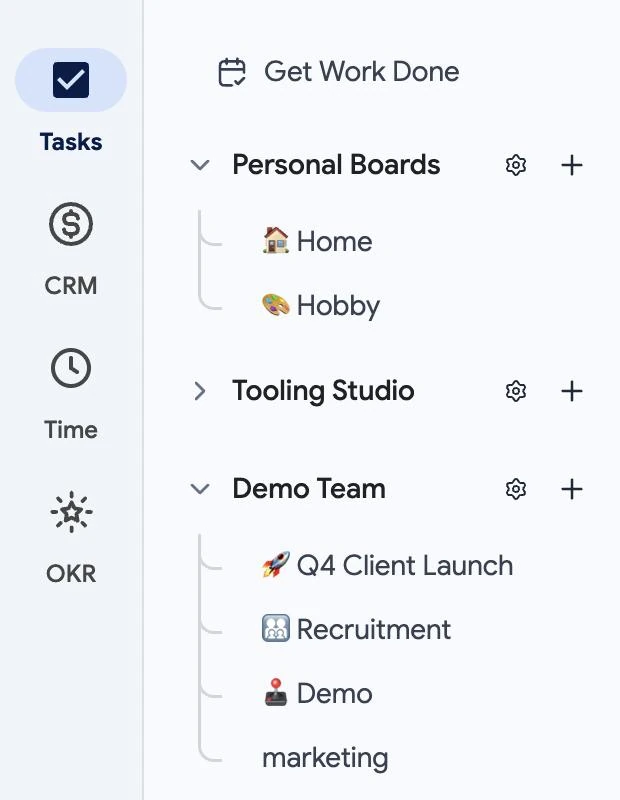
In Tooling Studio, select Tasks in the product rail on the far left.
Step 2
Choose where the board belongs
In the left sidebar, find Personal Boards or the team that will own the board. A new board appears under that location.

Step 3
Start a board in that location
Select the plus beside Personal Boards or the team name. A Board name field opens below that location’s boards.

Step 4
Name and create the board
Type a short name in the Board name field, then select the checkmark. Kanban Tasks creates the board and opens it.
When you create a team board, a Share your board window may open. Close it if you are not ready to choose who can use the board.

Step 5
Check the default lists
A new board starts with To do, In progress, and Done. Keep them if they fit your process. You can add more stages and move the lists later.

Step 6
Add a workflow list
Select Add a List at the end of the board. Type a name, such as Review, in Enter Task List. Press Enter to add it.
The board scrolls sideways when it has more lists than fit on screen. Scroll to the right to reach Add a List.

Step 7
Put the lists in workflow order
Drag a list by its name to move it. For example, place Review between In progress and Done. The board scrolls sideways when not all lists fit on screen.

Need help with board access?
If the plus is missing or the board does not open, ask a workspace admin to check that the workspace can use Kanban Tasks. For more help, contact support .