
Share Screen Google Meet: Ultimate Guide to Flawless Meetings
Learn how to share screen google meet easily. Our guide covers presenting from any device, troubleshooting tips, and pro tricks for successful meetings.
When you're in a Google Meet call, sharing your screen is often the quickest way to get everyone on the same page. But which option should you pick? Google Meet keeps it simple with three core choices: you can share your entire screen, just a single application window, or a specific browser tab.
Knowing the difference is key. It’s what separates a smooth, professional presentation from accidentally showing your entire team your cluttered desktop or incoming personal notifications. Each option is built for a different purpose, and mastering them is a small skill that pays off big.
With over 300 million monthly active users and a global market share of 29.39%, Google Meet is a staple in the modern workplace. Millions of people are clicking that "Present now" button every single day. If you're curious about how it stacks up against the competition, you can dig into some fascinating insights on Google Meet statistics.
Making the Right Choice: Which Share Option to Use?
So, how do you decide what to share? It really comes down to what you need to show. Let's walk through a few common scenarios I see all the time.
Sharing a Slide Deck: If you’re presenting a PowerPoint or Google Slides deck, sharing A Window is your best bet. This isolates the presentation, so your audience only sees the slides—not your speaker notes, your overflowing inbox, or anything else you have open. It keeps things clean and focused.
Walking Through a Software Demo: Need to show a process that involves jumping between a few different apps? This is where sharing your Entire Screen comes in handy. It’s the only way to show a complete workflow across multiple programs. Just do a quick cleanup first! Close any personal browser tabs or apps you wouldn't want your boss or client to see.
Playing a Video with Audio: Ever tried to share a YouTube video in a meeting only to have it turn into a choppy, silent mess? Sharing A Tab is the solution. This option is specifically optimized for media playback, ensuring the video is smooth and the audio is perfectly synced for everyone.
This handy little decision tree breaks it down even further.
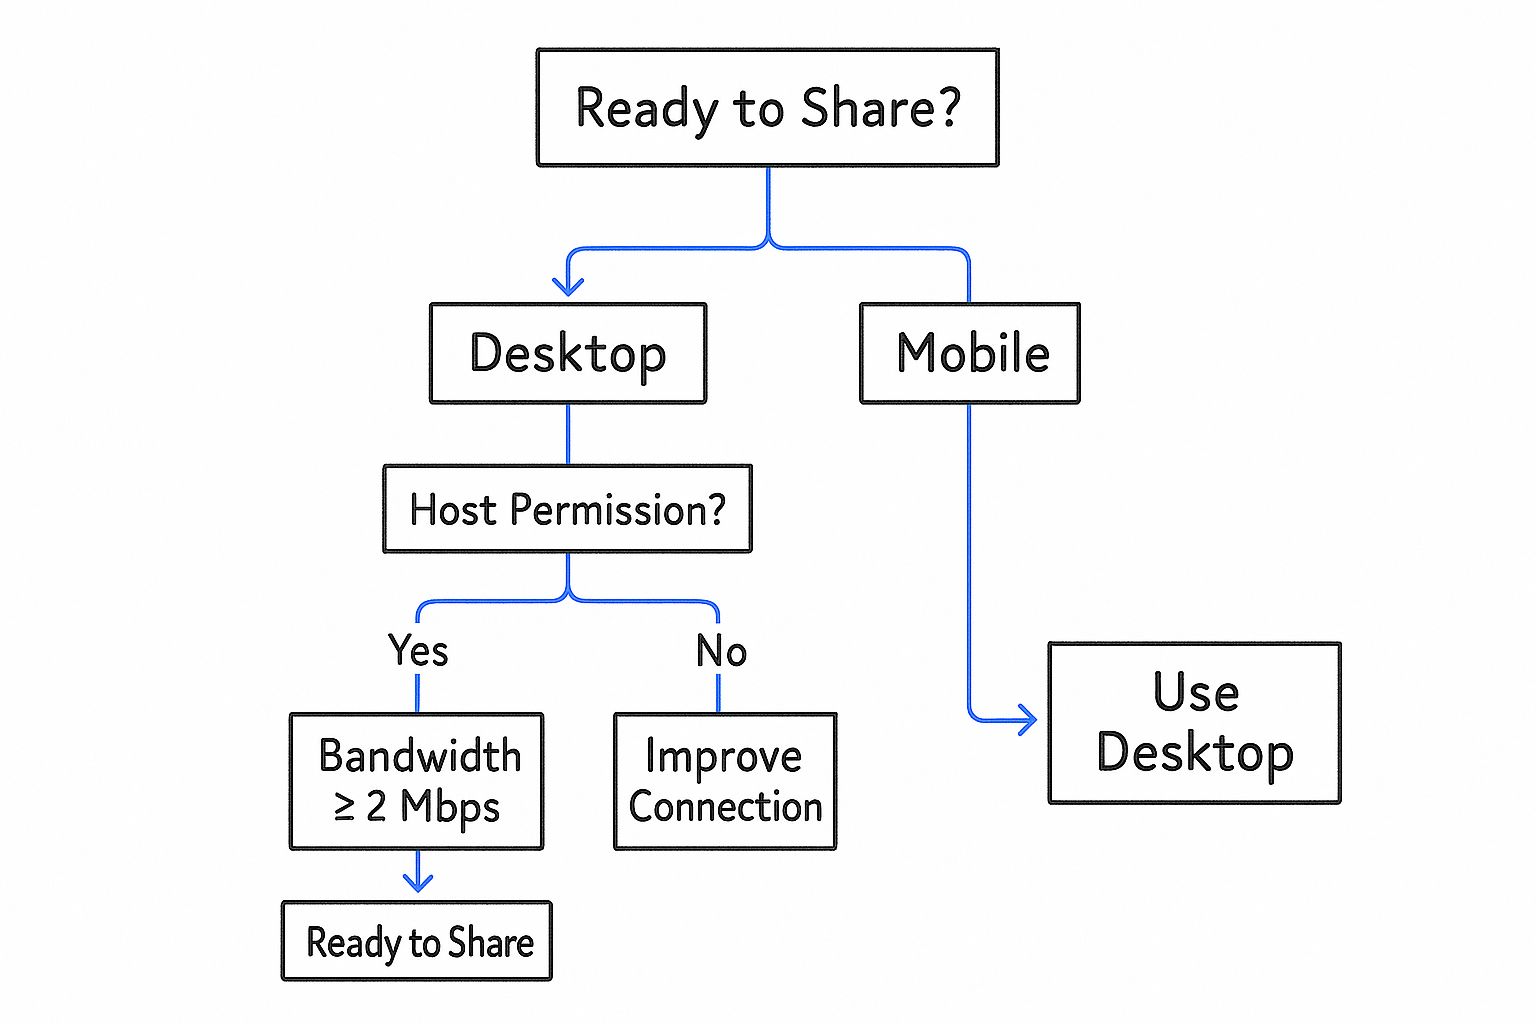
As the graphic shows, it all starts with having the right permissions and a stable connection. From there, it's about picking the option that best fits your content.
The goal is to make your content the star of the show, not your desktop clutter. Mastering these options ensures your message is delivered clearly and professionally, building confidence with your audience.
For teams already living in the Google ecosystem, getting these little details right can be a huge productivity boost. If you're looking to get even more out of the platform, check out our guide to the Google Workspace startup hub for more tips on streamlining your team's collaboration.
Which Screen Share Option Should You Use?
Still not sure? Here’s a quick-glance table to help you decide in the moment.
| Share Option | Best For | Key Benefit |
|---|---|---|
| A Tab | Sharing video with audio, a single web page, or a Google Doc/Sheet/Slide. | Optimized for smooth video and audio playback. |
| A Window | Presenting a slide deck (like PowerPoint), or focusing on a single application. | Hides desktop clutter and notifications from other apps. |
| Entire Screen | Demonstrating a workflow that involves switching between multiple applications. | Maximum flexibility to show anything on your monitor. |
Ultimately, picking the right screen share option is a small step that makes a big difference in how professional and polished your presentation feels. A little practice and you'll be doing it like a pro.
How to Share Your Screen on a Desktop
When you’re presenting from a desktop computer—whether it’s a Windows PC, Mac, or Chromebook—you have the most power and flexibility at your fingertips.
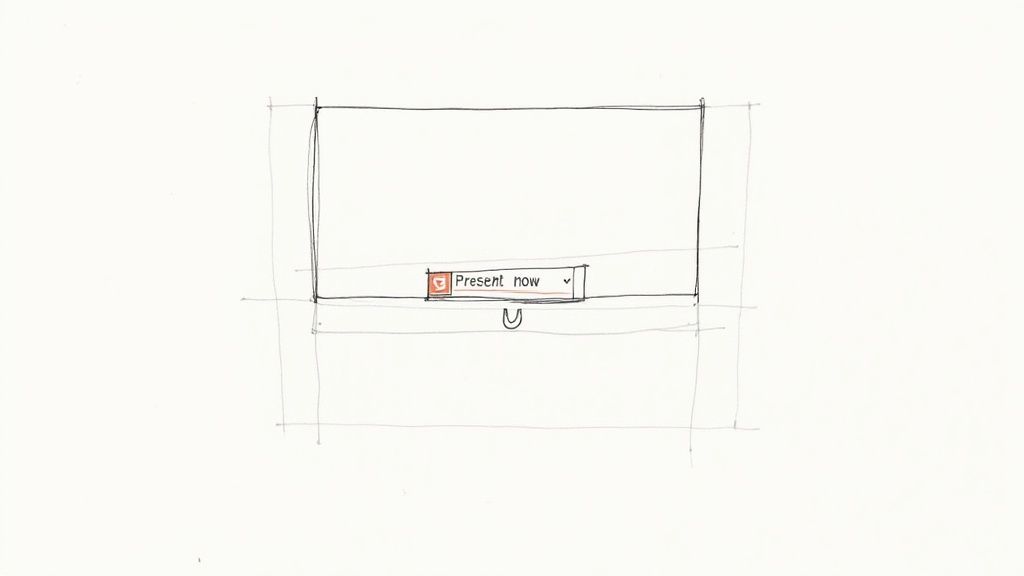
Once you're in a meeting, just look for the "Present now" button, which you’ll typically find at the bottom of your screen. Clicking it is your gateway, revealing three distinct ways to share your content.
Each of these options is a tool for a specific job. Picking the right one is what separates a smooth, professional presentation from an embarrassing one—like accidentally broadcasting a personal Slack message to your entire company. Let’s break down which one to use and when.
Choosing Your Presentation Method
The first option, "Your entire screen," is exactly what it sounds like. This is your go-to when you need to jump between different programs. Imagine you’re running a software demo: you might start in Figma to show a design, switch over to a Trello board to outline the tasks, and then pop open a code editor. This option shows it all.
The big catch? It really shares everything, including any pop-up notifications. Here’s a pro-tip I swear by: before you start, turn on "Focus Assist" on Windows or "Do Not Disturb" on macOS. It’s a simple click that saves you from having an unexpected alert derail your presentation.
Next up is "A window," which is my personal favorite for most standard presentations because it’s perfect for privacy and focus. Use this when you’re presenting from a single application, like a PowerPoint deck or a Google Slides presentation. Your audience only sees that specific app window—no desktop clutter, no other open apps, and no menu bar. It’s the safest and cleanest choice for most situations.
Key Takeaway: Before you hit that final "Share" button, Google Meet gives you a quick preview of what you're about to show. Always, always take a half-second to glance at it. This tiny habit has saved me from major blunders more times than I can count.
The Best Way to Share Media
Finally, there’s "A tab," an option specifically designed and optimized for sharing content from a Google Chrome browser tab.
This is, without a doubt, the best way to present a YouTube video, a web-based animation, or anything with sound. It's the only option that directly shares the audio from the tab, which means everyone gets smooth, synchronized video and audio without any awkward lag.
To make it work, just be sure to check the "Share tab audio" box in the bottom-left corner of the pop-up window. It's easy to miss, but it's the key to making your media play perfectly for everyone on the call. Google Meet's powerful features make presenting anything from documents to live demos incredibly straightforward, and mastering these sharing options is a huge part of that.
Presenting from Your Phone or Tablet
The ability to share screen google meet isn't just for your desktop. Presenting from your phone or tablet is surprisingly straightforward and can be a real lifesaver when you're on the go. It’s perfect for those moments you need to quickly show a mobile app prototype, a photo from your gallery, or a document you have saved on your device.
When you're in a live meeting, just tap your screen to bring up the controls, then tap the three-dot menu icon. From the options that pop up, select "Share screen." The steps are nearly identical for both Android and iOS, though the final confirmation button will look a bit different. Android users will tap "Start sharing," while on iOS, you'll see "Start Broadcast."
One key difference from the desktop version is that the mobile app only lets you share your entire screen. You can't pick a specific app or browser tab, which makes a little prep work even more important.
Preparing Your Mobile Device for Sharing
Before you hit that share button, it’s smart to take a moment to prepare your phone. A sudden phone call or a flood of personal notifications can quickly derail an otherwise professional presentation. Nobody wants their boss to see a text from their mom pop up mid-demo.
A simple but effective habit is to enable your phone's "Do Not Disturb" or "Focus Mode" before you share your screen. This silences incoming calls and hides notification banners, ensuring your audience only sees what you intend for them to see.
This is a critical step anytime your screen becomes the main event. I’d also recommend closing any unnecessary apps beforehand. This not only declutters your view if you need to switch between apps but also helps conserve your device's battery and processing power, leading to a smoother experience for everyone watching.
These small preparations ensure your mobile presentation comes off as polished as one delivered from a desktop, giving you the confidence to share content from anywhere.
Pro Tips for a Flawless Presentation
Knowing the buttons to click for screen sharing is just the start. To really nail a presentation and keep your audience glued to their screens, you need a few pro moves up your sleeve. These are the little things that make a huge difference, turning a standard share into a polished, professional experience.
One of the most common pitfalls I see is people trying to share a video or animation. If you’ve ever shared your entire screen to play a YouTube clip, you know the pain of choppy video and nonexistent audio. The fix is simple: always, always use the “A Tab” sharing option for any kind of media. It's built specifically to handle video and audio, giving your audience a smooth, buffer-free experience.
Master Your Setup
Got a dual-monitor setup? You're already ahead of the game. This is your secret weapon for a seamless presentation. Share your secondary monitor with the audience, and keep your primary screen for your eyes only. This is where you can keep your notes, see your meeting controls, or even have a private chat open with a colleague to get real-time feedback. It lets you stay in control without anyone seeing behind the curtain.
Another fantastic tool in your arsenal is Google Meet's Companion Mode. You can join the meeting on a second device—like an iPad or another laptop—to manage the Q&A, launch polls, or see the participant list without ever interrupting the flow on your main presentation screen.
Pro-Tip: Before you even think about hitting that "Present now" button, do a quick digital cleanup. Close all those extra browser tabs and quit any apps you don't absolutely need. It’s a tiny step that prevents distracting—and potentially embarrassing—pop-ups and frees up your computer's resources to keep the meeting running smoothly.
Your Pre-Presentation Checklist
To make sure every session is flawless, I run through this quick mental checklist every single time. It only takes a minute and saves a world of trouble.
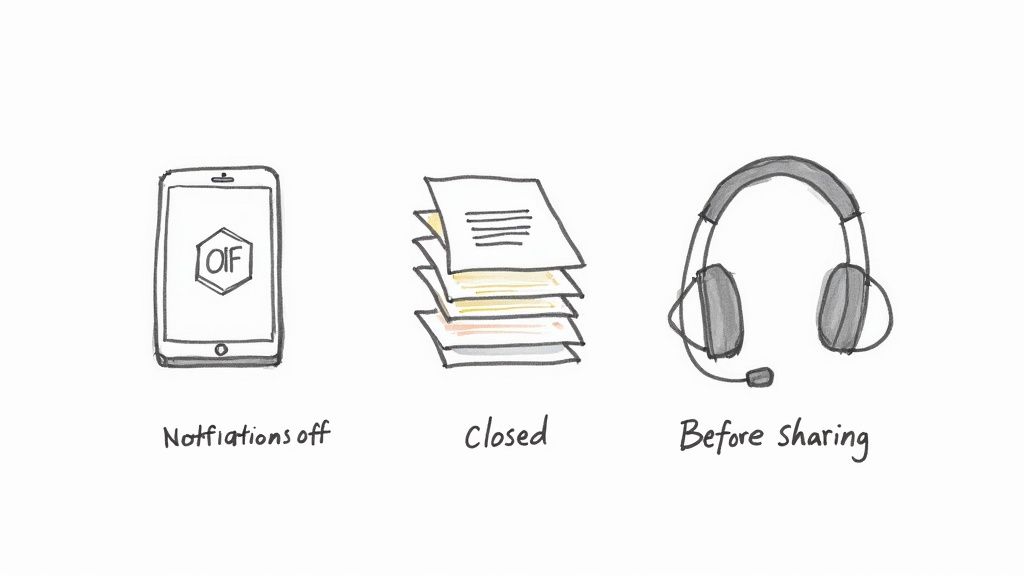
- Silence the world. Turn on "Do Not Disturb" on a Mac or "Focus Assist" on Windows. Nothing kills the flow like a random email notification popping up.
- Check your background. Take a quick look behind you. Is your physical space tidy? Is your virtual background looking professional and not glitchy?
- Test your tech. A quick microphone and camera check avoids that awkward "Can you hear me now?" dance at the beginning of the call.
Screen sharing takes up a surprising amount of bandwidth, so minimizing distractions also means closing apps that quietly eat up your connection in the background.
Finally, remember that technical skill is only one part of the equation. Truly memorable presentations come from connection. Once you’ve mastered the mechanics, it’s worth exploring strategies to boost participation and increase engagement in virtual meetings to make sure your message truly lands.
Troubleshooting Common Screen Sharing Issues
It happens to the best of us. You’re all set to present, but Google Meet has other plans. The "Present" button is grayed out, or your audience is just staring at a black screen. It’s frustrating, but don’t worry—the fix is usually surprisingly simple. Let's walk through the most common culprits so you can get your meeting back on track.
First things first: if the "Present now" button is disabled, it's not a bug. This almost always means the meeting host has turned off screen sharing for participants. It's a common security setting, especially in larger meetings. Just shoot a quick message in the chat and ask them to enable it for you.
Now, what if you can share, but all anyone sees is a black void? This is the classic permissions problem. I see this all the time, particularly with macOS users who need to give their browser specific access to record the screen.
Fixing Permission-Based Problems
On a Mac, your browser needs explicit permission to capture what's on your display. If you clicked "Don't Allow" at some point in the past, Google Meet simply can't see your screen.
Here’s how to fix it:
- Open up System Settings and head to Privacy & Security.
- Scroll down and find Screen Recording.
- In the list of apps, find your browser (like Google Chrome) and make sure the toggle next to it is flipped on.
You’ll probably need to quit and restart your browser for the setting to kick in. This one simple step solves the vast majority of black screen issues I've encountered.
Pro Tip: Don’t forget about the audio! If you’re sharing a video from a browser tab and your team can't hear it, you likely forgot to tick the little “Share tab audio” box. Just stop presenting, start again, and make sure that box is checked. It's an easy miss.
If you work for a company that uses Google Workspace, there's a chance these settings are managed by your IT department. If you’ve tried everything and are still stuck, it might be an administrative policy getting in the way. At that point, it’s worth reaching out for some expert Google Workspace admin support to see if there's a policy that needs adjusting.
Frequently Asked Questions
Even after walking through the steps, you might still have a few questions. That's perfectly normal. Let's dig into some of the most common things people ask when they share screen google meet so you can present like a pro every time.
One of the biggest worries I hear about is privacy. "If I share just one window, can people see anything else on my computer?" The short answer is no. When you select "A window," Google Meet does an excellent job of isolating just that single application. Your audience won't get a peek at your desktop, any other programs you have open, or those embarrassing notifications that always seem to pop up at the worst times. It's my go-to recommendation for presenting a single document or slide deck safely.
Another classic snag is hitting "play" on a video only to be met with silence from your audience.
Why Can’t Anyone Hear My Video?
This is almost always because you've chosen the wrong sharing option. To get the sound from a video or any other media to play for your audience, you absolutely must use the "A tab" option. Just as important, you have to remember to check the little "Share tab audio" box that appears in the bottom-left corner of the pop-up. If you forget to tick that box, your video will play, but nobody else will hear a thing.
Key Takeaway: The "A Tab" option, combined with checking the "Share tab audio" box, is the only way to correctly share media with sound in Google Meet. Sharing your entire screen or a specific window won't transmit the audio from a video.
How Do I Stop Presenting?
Ending your screen share is refreshingly simple. Look for a floating blue bar or box that appears somewhere on your screen—it will have a clear "Stop presenting" or "Stop sharing" button. Just give that a click. If for some reason you can't spot it, you can always navigate back to the main Google Meet tab. You'll see a prominent, usually blue, button that also says "Stop presenting."
For those working in a larger company, figuring out all the settings and permissions can feel a bit overwhelming. If you're looking for expert help to optimize your team's setup, you can find your Google Workspace partner to help get your collaboration tools running smoothly.