
Master How to Wrap Text in Google Sheets Easily
Learn how to wrap text in Google Sheets with our guide. Master toolbar, shortcuts, CHAR(10) formula, & mobile fixes for clean sheets. Get started today!
A shared sheet usually looks fine until someone adds real working notes.
Then task descriptions run into adjacent columns, assignee comments disappear behind filled cells, and a clean tracker turns into something your team has to decode instead of use. If you're managing projects, approvals, sales follow-ups, or a Kanban export in Google Sheets, messy cell text isn't cosmetic. It causes missed details, awkward handoffs, and avoidable back-and-forth.
Knowing how to wrap text in google sheets fixes that fast. It also gives you a better decision framework for when to use Wrap, when to leave content as Overflow, and when to intentionally Clip text to keep a grid compact. That choice affects readability, row height, filtering, and how well a shared sheet holds up once multiple people start editing it.
Why Your Google Sheets Text Is a Mess and How to Fix It
Most text problems in Google Sheets come from one simple mismatch. The content inside the cell is longer than the layout around it was designed to handle.
That happens constantly in project work. A short “Status” column stays tidy, but a “Notes,” “Blockers,” or “Next step” column grows fast once the team starts writing actual context. If your sheet also pulls data from forms, tasks, or other Google Sheets integrations, the problem gets bigger because imported text rarely respects the width of your columns.
The result is familiar:
- Task details get hidden: A cell looks complete until the adjacent cell fills in, then half the note disappears.
- Reviewers miss context: Stakeholders scan the sheet and only see the first fragment of a sentence.
- Formatting gets inconsistent: One person widens columns, another clips text, and the sheet stops feeling reliable.
A good shared sheet needs predictable display rules. Wrapping is one of the fastest ways to create them.
Practical rule: If a column contains instructions, comments, descriptions, or anything a teammate might need to read in full, default to Wrap.
That matters even more when you're cleaning up operational sheets. For example, if you’re already maintaining data hygiene with techniques like removing repeated values, this guide on how to identify duplicates in Sheets is useful too: https://tooling.studio/blog/how-to-find-duplicates-in-google-sheets
Text wrapping won't fix bad structure. But it will fix one of the most common day-to-day problems in collaborative spreadsheets. Once you use it deliberately, your sheet becomes easier to scan, easier to update, and much less likely to hide important work.
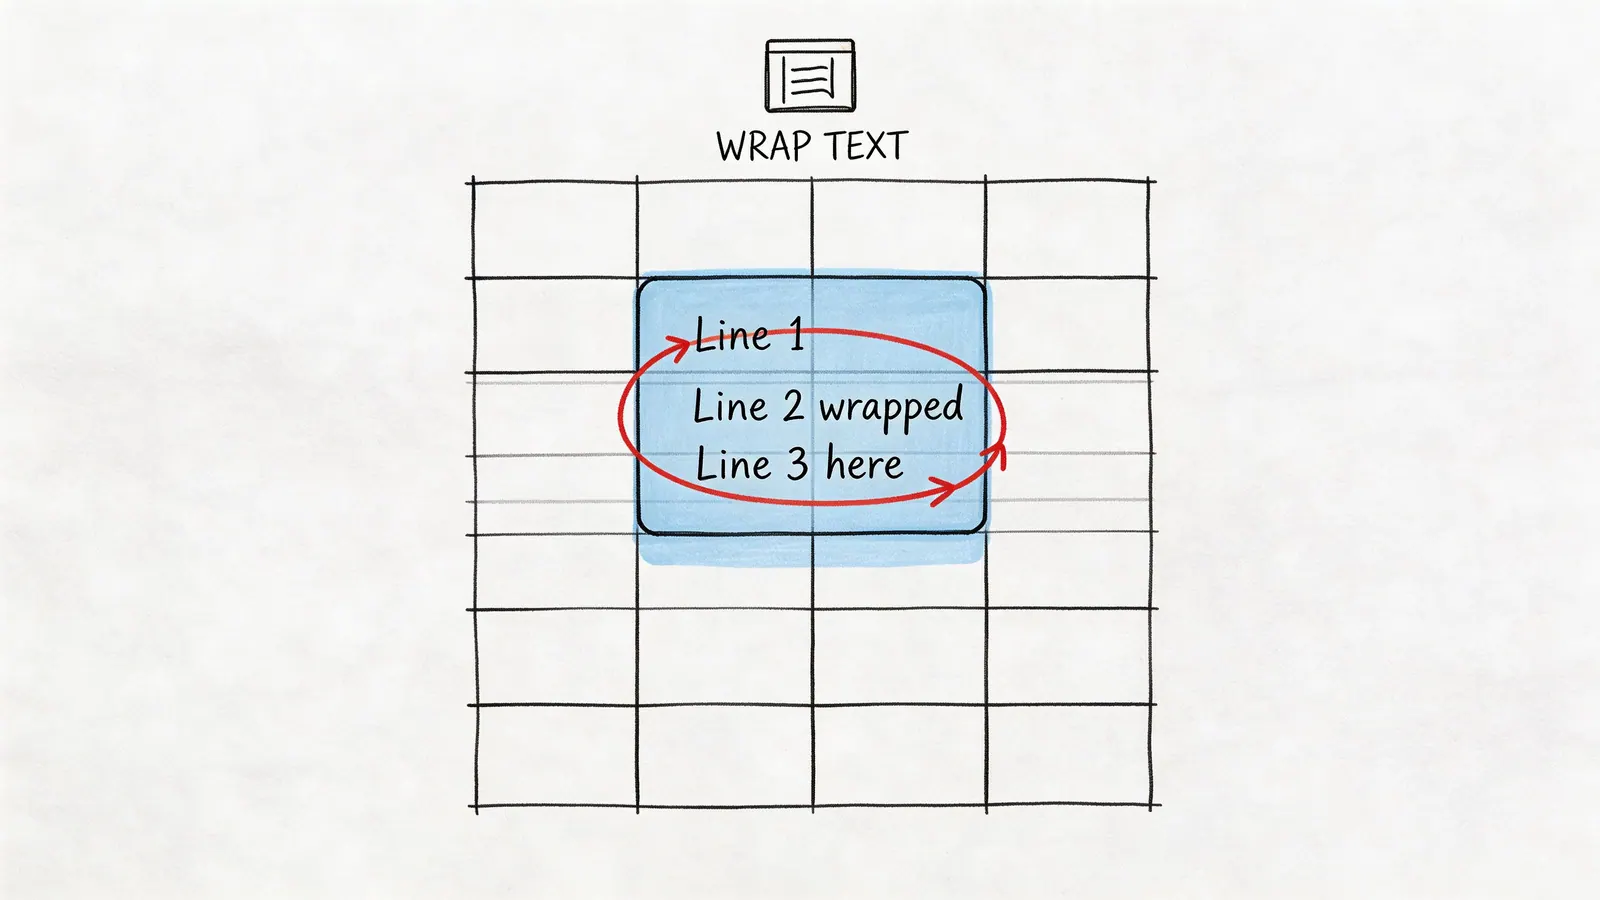
The Quickest Way to Wrap Text in Google Sheets
A status tracker looks fine until someone adds real detail. Then the notes column starts spilling into neighboring cells, row heights stay uneven, and reviewers miss context because they only see the first few words. The fastest fix is to set the wrapping style for the range before the sheet gets messy.

For day-to-day work, I use the toolbar first.
Select the cells you want to format, click the Text wrapping icon, then choose Wrap, Overflow, or Clip. This is the quickest option during standups, sheet reviews, or cleanup work when you need to fix visibility without breaking your flow. If the icon is hidden, open the toolbar’s extra options and it should be there.
The Format menu does the same job, but it is better for repeatable team instructions: Format > Wrapping > Wrap. If you are documenting a process for coordinators, assistants, or stakeholders who only touch Sheets occasionally, menu paths are easier to write into SOPs and easier to follow step by step.
The primary decision is the wrapping mode, not the click path. In any active team tracker, overflow and clip are the default, and they are usually wrong for the job.
| Option | What it does | Best use |
|---|---|---|
| Wrap | Keeps all text visible by expanding row height | Task notes, comments, descriptions, handoff context |
| Overflow | Lets text spill into the next empty cell | Temporary labels in a sparse sheet |
| Clip | Hides the excess without changing row height | IDs, raw links, compact dashboard headers |
Here is how I choose between them in practice.
Use Wrap when another person needs to read the full value without clicking into the cell. That includes blockers, owner notes, approval comments, and anything that will be reviewed asynchronously. It adds row height, but that trade-off usually improves handoffs and reduces missed details.
Use Overflow only when nearby cells are intentionally blank. It can look tidy in a lightweight planning sheet, but it fails fast once the sheet fills up. In shared trackers and Kanban boards built in Google Sheets, overflow creates false confidence because text appears visible until another field is populated.
Use Clip when the column exists for structure, not reading. Short codes, record IDs, and utility columns fit here. Clip keeps layouts compact, but it also hides information, so it is a poor choice for anything a teammate may need to scan during review.
One cleanup step makes wrapping easier to live with. After you apply Wrap, widen the column a little if rows become too tall. A modest width change often keeps notes readable while preserving a sheet that still scans cleanly in meetings and weekly updates.
Mastering Manual Line Breaks and Keyboard Shortcuts
Automatic wrapping is useful, but it doesn't always give you the layout you want inside the cell. Sometimes you need control over where the break happens.
That’s especially true for status summaries, addresses, checklist-style notes, and task cards that need to stay readable in one cell.
Insert a manual line break inside a cell
When you're editing a cell, use:
- Alt + Enter on Windows
- Option + Enter on Mac
That creates a new line inside the same cell. It doesn't move you to the next row.
This is different from normal wrapping. Automatic wrap responds to column width. A manual line break tells Google Sheets exactly where a new line should begin.
Here are a few places where that works better than letting Sheets decide:
- Multi-part task notes: Keep owner, due date, and blocker on separate lines.
- Contact details: Put company, person, and phone on their own lines.
- Mini checklists: Break short action points into stacked lines inside one cell.
Use manual breaks for deliberate formatting
A project manager’s note often reads better when it’s structured, not just visible.
Compare these two versions in one cell:
Without manual breaks
Client follow-up due Friday owner Mia waiting on legal review
With manual breaks
Client follow-up
Due Friday
Owner Mia
Waiting on legal review
That second version is much easier to scan during a standup or handoff.
Manual line breaks are best when the order of information matters as much as the content itself.
If you're using Sheets as a lightweight planning layer before moving work into a board view, this practical guide to building a Kanban setup in Sheets is worth bookmarking: https://tooling.studio/blog/kanban-google-sheets
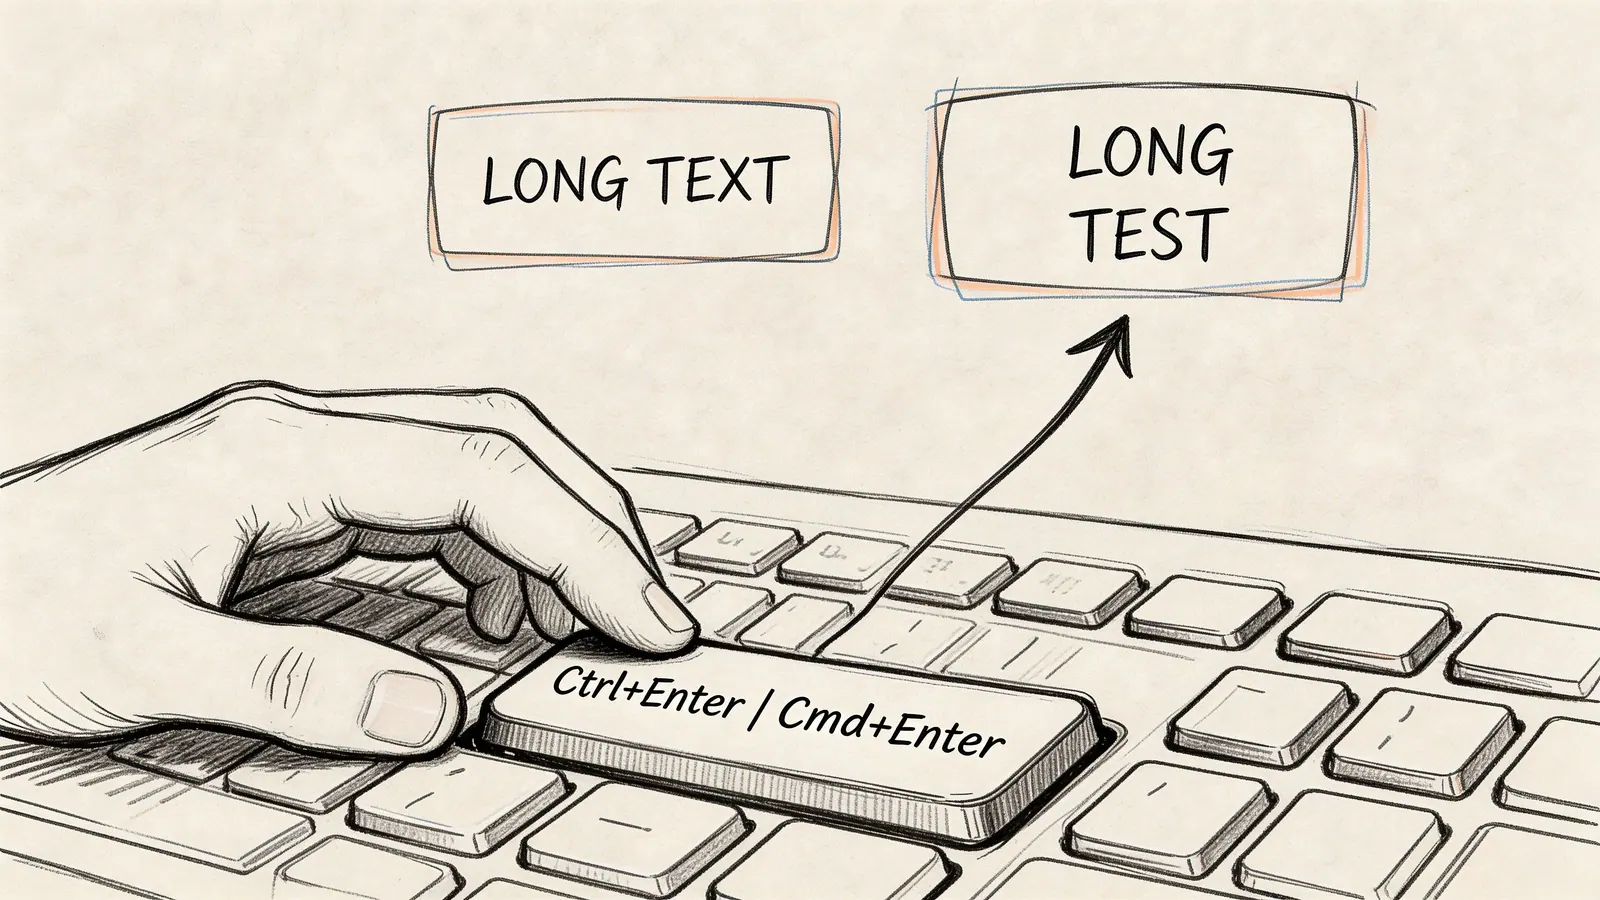
Keyboard workflows for faster formatting
If you spend all day in Sheets, keeping your hands on the keyboard helps. Some power users also use macros for text wrapping shortcuts. Verified guidance notes examples such as Ctrl + Alt + Shift + 1 for custom wrap actions in macro-driven setups, but those depend on how the macro is configured rather than being a universal built-in shortcut.
The better habit is this:
- Use the keyboard to select the range quickly.
- Apply wrap from the toolbar or menu.
- Use manual line breaks only in cells where structure matters.
A short visual walkthrough can help if you want to see the motion in context.
What manual breaks do not solve
Manual breaks don't replace proper wrapping. If the cell is still set to Clip, your inserted line breaks may exist but not display well. Set the cell to Wrap first when the full content needs to remain visible.
They also don't fix poor column design. If every row turns into a paragraph, you may need to split one overloaded column into two cleaner ones instead.
Automating Line Breaks with the CHAR(10) Formula
Formula-generated text is where wrapping gets more interesting.
A lot of Google Sheets guides show how to click Format > Wrapping > Wrap, but they stop there. That’s a real gap because formula outputs often behave differently. In Google Workspace forum discussions, users regularly report that CONCATENATE and ARRAYFORMULA results don’t wrap cleanly on their own. One practical fix is to insert manual line breaks with CHAR(10), as shown in the Google Docs Editors community thread on wrapping text from formulas with CHAR(10).
What CHAR(10) does
CHAR(10) inserts a line break character inside a formula result.
That means you can combine text from multiple cells and control exactly where each new line starts. The cell still needs Wrap enabled if you want those lines to display properly.
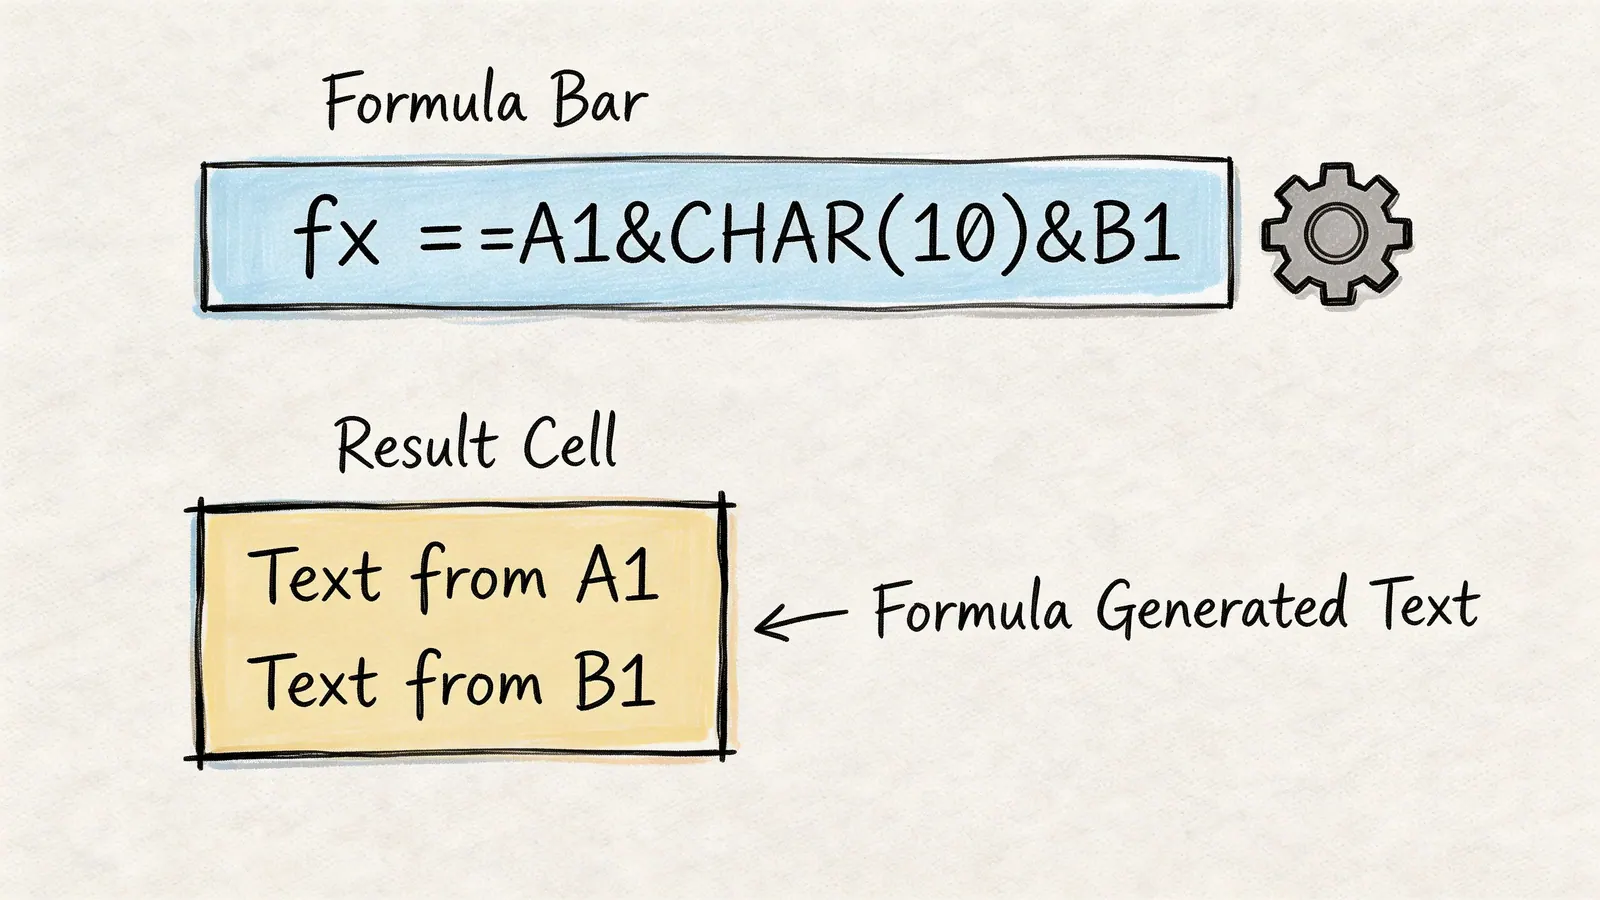
A simple example
If you want to combine values from A1 and B1 onto separate lines, use:
=CONCATENATE(A1, CHAR(10), B1)
You can do the same with ampersands:
=A1 & CHAR(10) & B1
Or with TEXTJOIN when you’re joining multiple items:
=TEXTJOIN(CHAR(10), TRUE, A1:C1)
A better use case for project tracking
In this scenario, the formula becomes particularly useful. Say you have:
- A2 = Task name
- B2 = Due date
- C2 = Owner
You can create a compact summary cell like this:
=A2 & CHAR(10) & B2 & CHAR(10) & C2
That gives you one cell with three readable lines. In a dashboard, review sheet, or exported work summary, that’s often easier to scan than bouncing across several narrow columns.
How to make it work reliably
Use this sequence:
- Build the formula with CHAR(10).
- Select the output cell or column.
- Apply Wrap.
- Resize the column if the result looks cramped.
If the formula output still looks off, check the text source. Imported values sometimes bring hidden spacing or odd characters that make line behavior inconsistent.
Field note: Formula-based summaries are great for dashboard views, but they’re not ideal for raw data tables that need heavy sorting and filtering. Keep source columns intact, then create a cleaner presentation column beside them.
Where this helps most
Formula-based line breaks work well in:
- Task summary columns
- Customer notes rollups
- Handoff sheets
- Kanban export views
- Approval trackers with short context blocks
What doesn’t work as well is using one mega-cell as a substitute for a clear table. If teammates still need to filter by due date, owner, or status, keep those values in separate columns and use the combined multi-line cell only as a readable summary.
Handling Text Wrap in Merged Cells and on Mobile
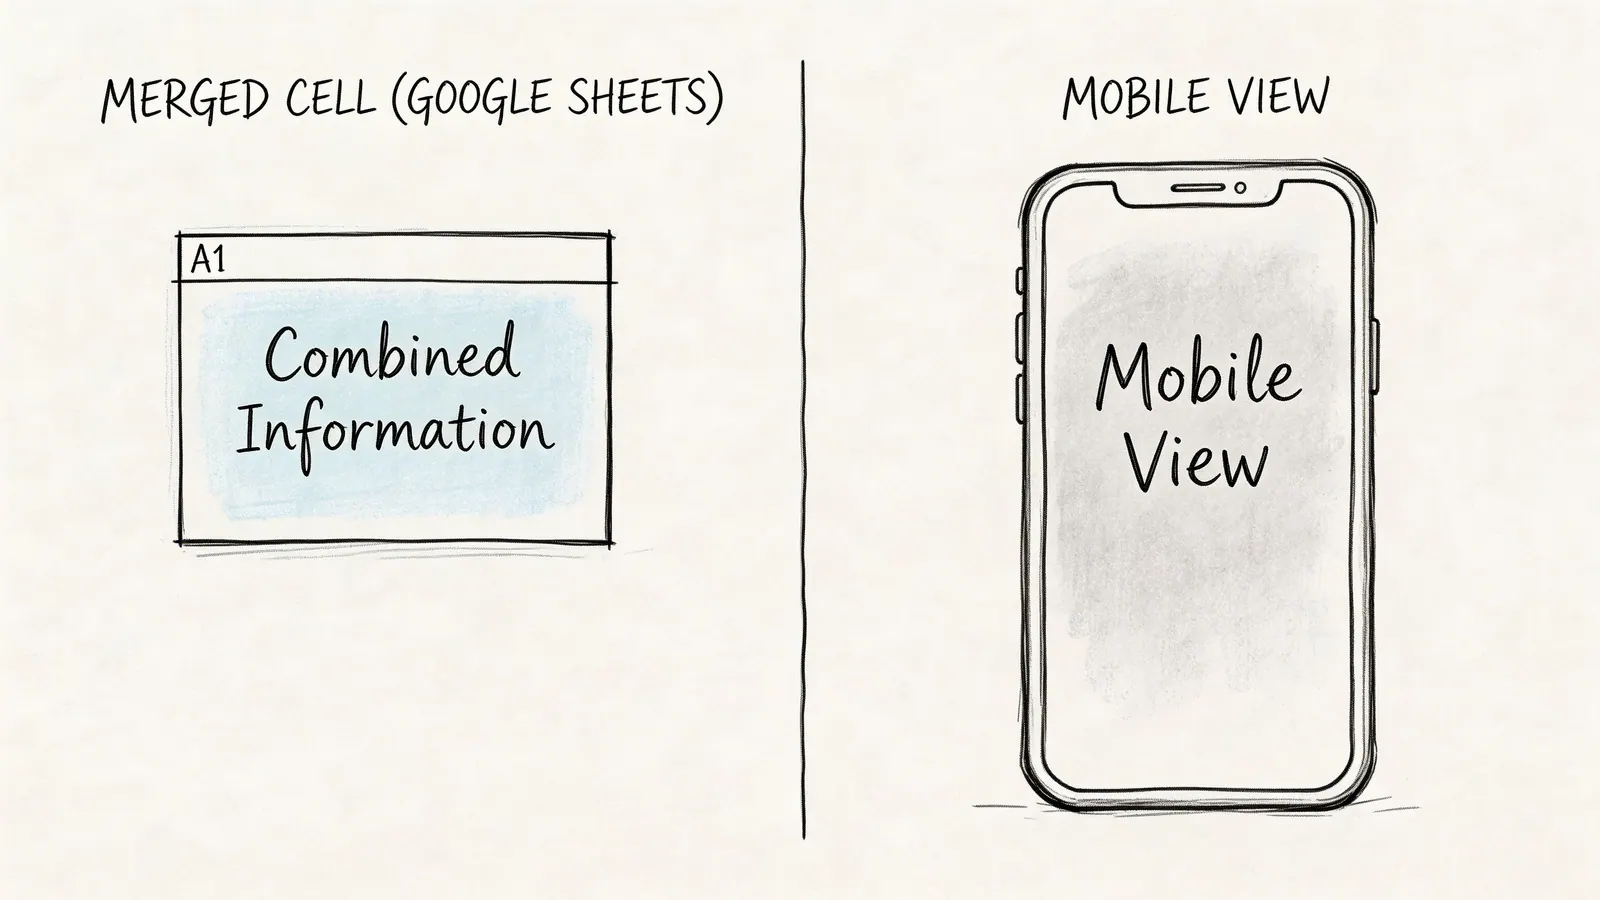
A common cleanup job looks simple until the sheet is already in use. Someone merges cells to make a status block look cleaner, then a teammate opens the same sheet on mobile and can no longer tell why text is cut off, misaligned, or hard to edit.
Merged cells look clean, but they weaken the working sheet
Merged cells are acceptable in a title row. Inside active tables, they create avoidable friction.
Google Sheets can still wrap text in a merged area, but merged cells interfere with the parts of a sheet that matter in day-to-day operations: sorting, filtering, copying ranges, and keeping row heights predictable. In a project tracker, that affects more than appearance. It can break handoffs, confuse owners, and make exports to other views less reliable.
Use this rule in shared sheets:
- Merge only for presentation rows: Keep it to headers or section labels.
- Leave task and data rows unmerged: This keeps filters, edits, and bulk updates stable.
- Apply wrap before merging if you have to merge: Then check row height right away.
- Use alignment or wider columns first: In many cases, centered text gives you the same visual result without changing the grid structure.
This matters even more if the sheet feeds another workflow. Kanban summaries, dashboard pull-ins, and timeline views all depend on clean columns. If you are building a planning view, this guide to building a timeline in Sheets shows a structure that stays easier to maintain than a layout filled with merged cells.
Mobile wrapping exists, but it slows review work
The mobile app can wrap text. The problem is discoverability.
On mobile, the wrap option is buried two menus deep. Many users stop looking and assume it is missing. That creates a team issue fast, especially when one person formats on desktop and another reviews updates from a phone between meetings.
The practical result is simple. Mobile is fine for a quick readability fix on one cell or a short note field. It is a poor place to standardize the layout of a shared tracker, client report, or board export.
A workable mobile process
Use this path in the Google Sheets app:
- Open the sheet.
- Tap the cell or range.
- Open Format.
- Check the text or cell formatting options.
- Turn on Wrap, if your app version shows it there.
A few trade-offs are worth keeping in mind:
- Phone screens hide layout problems: Text can look acceptable while editing, then look cramped in the sheet itself.
- Desktop and mobile views do not feel the same: A row height that works on desktop may still be awkward to review on a phone.
- Final formatting should happen on desktop: If the sheet is shared with clients, leadership, or a delivery team, do the last cleanup pass on a larger screen.
For project work, I treat mobile wrapping as a maintenance tool, not a layout tool. It helps in the moment, but the reliable version of the sheet should still be built on desktop with unmerged data columns and clear wrap rules.
Troubleshooting Common Text Wrapping Problems
Most wrapping issues come down to a short list of causes. Here’s the quickest way to solve them without digging through menus.
How do I unwrap text
Select the cells, click the wrapping control, and switch from Wrap to either Overflow or Clip.
Use Overflow if the next cell is empty and you still want the full text visible. Use Clip if you want a compact layout and don’t mind hiding the extra text from view.
Why is my wrapped text still getting cut off
The row height is usually the problem.
Try these checks:
- Resize the row manually: Drag the row boundary downward.
- Check for fixed row height: A manually locked height can stop wrapped content from showing fully.
- Look for excessive hidden characters: Verified guidance notes that hidden characters or extra spaces can account for up to 35 percent of wrapping failures, and trimming those values often fixes the issue.
Why did wrapping work yesterday and not today
New columns, pasted content, and copied formatting often reset display behavior.
If a teammate inserted a column or pasted content from another source, the wrapping format may not have carried over. Reapply wrapping to the affected range and inspect whether the new content brought in odd spacing or formatting.
Can I use wrap in headers
Yes, but be selective.
Wrap works well for long report headers when readability matters more than row compactness. If the header row starts becoming tall and hard to scan, shorten the header text and move the longer explanation into a note or a separate instruction row.
Should I wrap every column
No. That makes dense sheets harder to read.
A better pattern is:
- Wrap descriptions, comments, and notes
- Clip IDs, URLs, and technical strings
- Leave short fields like status, owner, or priority in their normal layout unless they clearly need more space
That mix keeps the sheet readable without turning every row into a block of text.
If your team lives in Google Workspace, Tooling Studio helps turn that messy middle ground between email, tasks, and spreadsheets into a cleaner working system. Explore Tooling Studio if you want lightweight Google Workspace tools that keep project tracking, task management, and collaboration closer to where your team already works.
 Download our Plugin